Our Contacts
Phone
Fax
General Inquiries
Design Help
Shipping Information
Warranty, Claims, and Returns
Customer Service Hours
Mon - Thurs: 8am - 6pm ET
Fri: 8am - 5pm ET
Sat & Sun: Closed
Closed National Holidays

Updated on: September 02, 2021
Adding cabinet hardware that matches your kitchen’s design and style can be a great way update your kitchen, making it look unique and beautiful. Installing kitchen cabinet handles is a simple process and is budget-friendly. Do-it-yourself beginners will love this project because it is easy and makes your kitchen, new or old, have a fresh new look. We also offer an extensive selection of cabinet knobs and pulls that you can add to your cabinets!
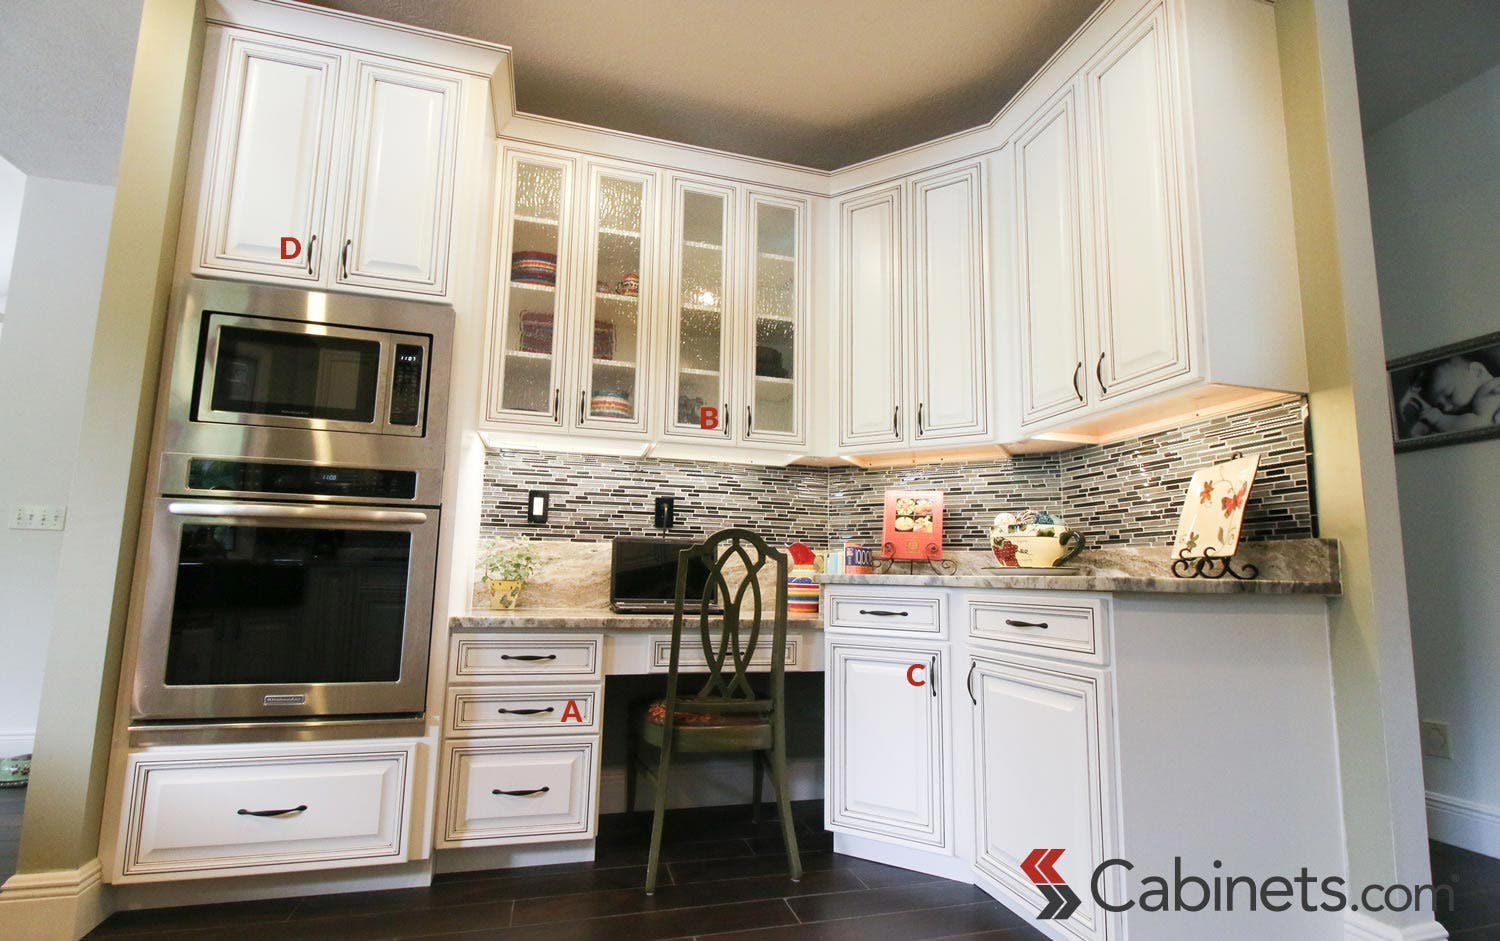
Depending on the orientation and level of the door, you may want to place the handle in different locations. See the image below. For most drawers (A), the proper place to install the kitchen cabinet handle is in the center of the door panel. However, on larger wall cabinets (B), it is a good idea to keep the pull at arm’s reach, just above the bottom of the door panel. Base cabinets (C) we also would recommend keeping the handle at arm’s reach, towards the top of the door panel. For smaller cabinets like the oven wall cabinet shown below (D), we recommend placing the handle in the middle (vertically) of the door panel. Of course, these are just suggestions, and you can place them however you see fits best.
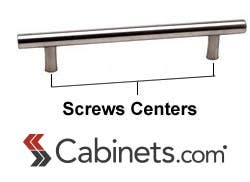
Your kitchen cabinet handles should be labeled on the packaging or website with a Screw Centers measurement. This is the distance between the two base holes where they will be attached to the cabinet door. If there is no label, simply measure the distance with your tape measure and use this for the markings.
Maintaining proper measurement distance throughout will make the process a lot easier, and more consistent.
This is important when drilling holes for pulls and knobs because you can't fix a hole that's too large for the screw. A smaller bit also prevents the hole on the backside of the cabinet from blowing out and splintering.
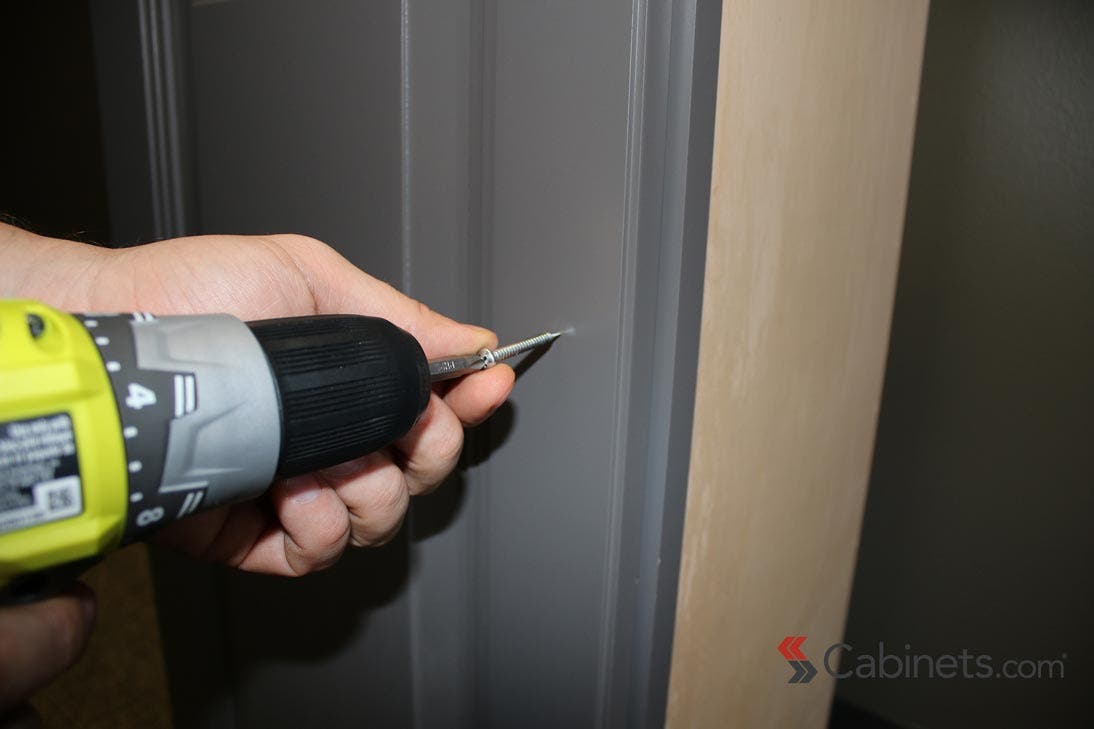
While holding the cabinet pulls on the front of the cabinet, screw in from the backside of the cabinet door until tight.
After you've attached the kitchen cabinet handle, bush off excess dust and you should be good to go on your next one!
Here is another great how-to-resource by The Spruce on a detailed step-by-step instruction on how you can easily attach cabinet hardware on cabinet doors.
And, here are some cabinet hardware inspiration for you from our actual customer homes!
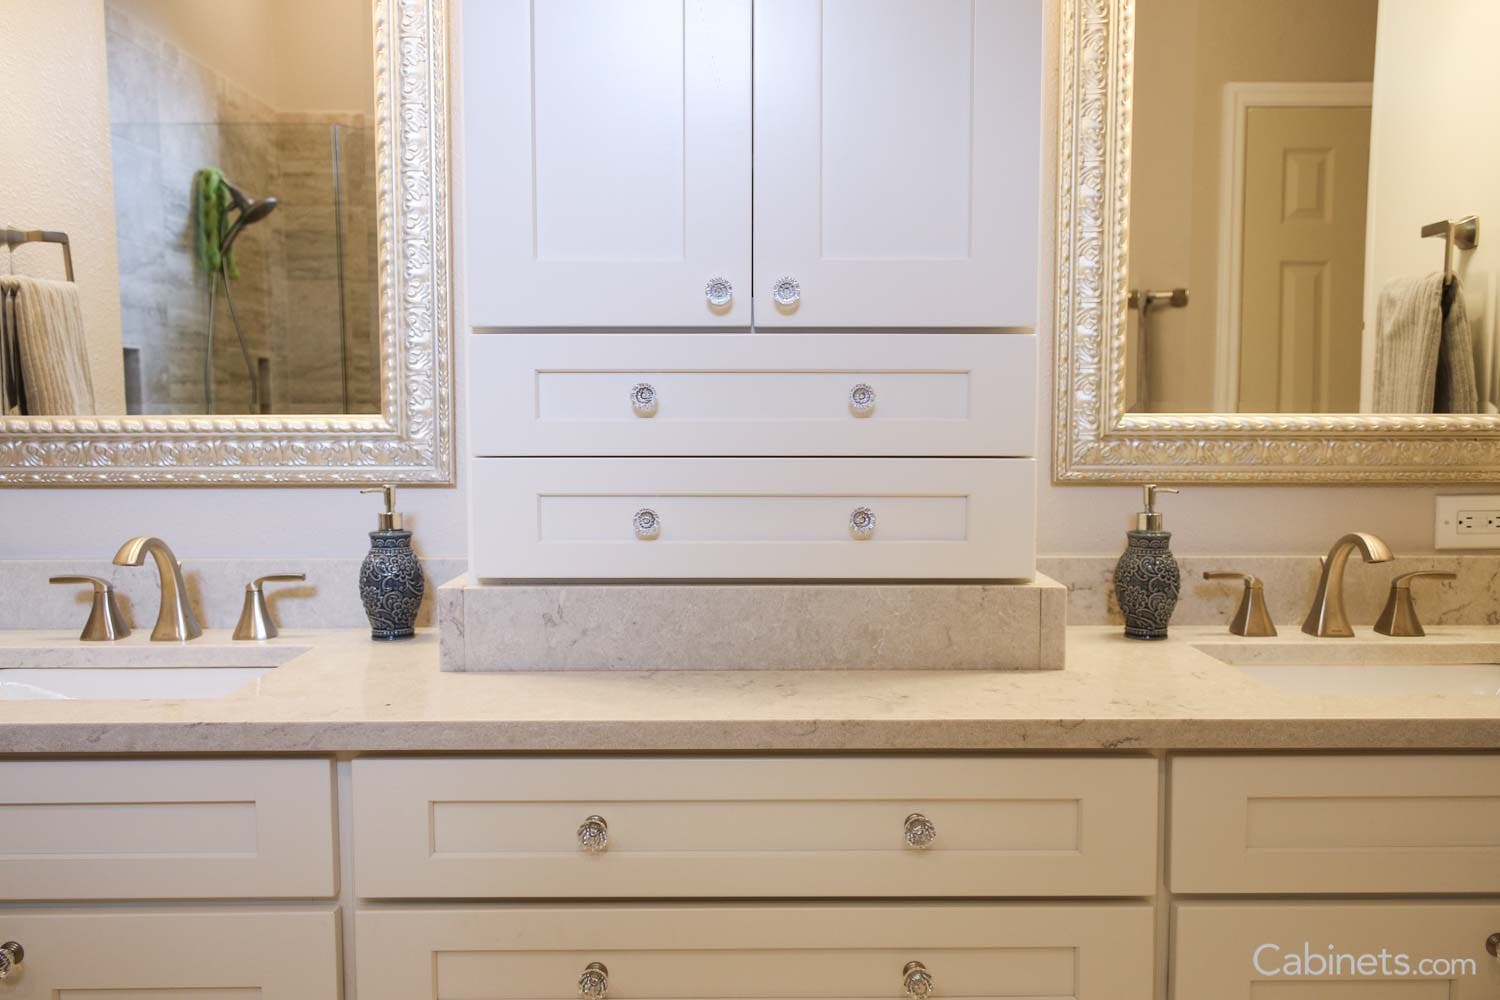
Beautiful knobs add a stylish touch to White Shaker Maple Antique White Cabinets
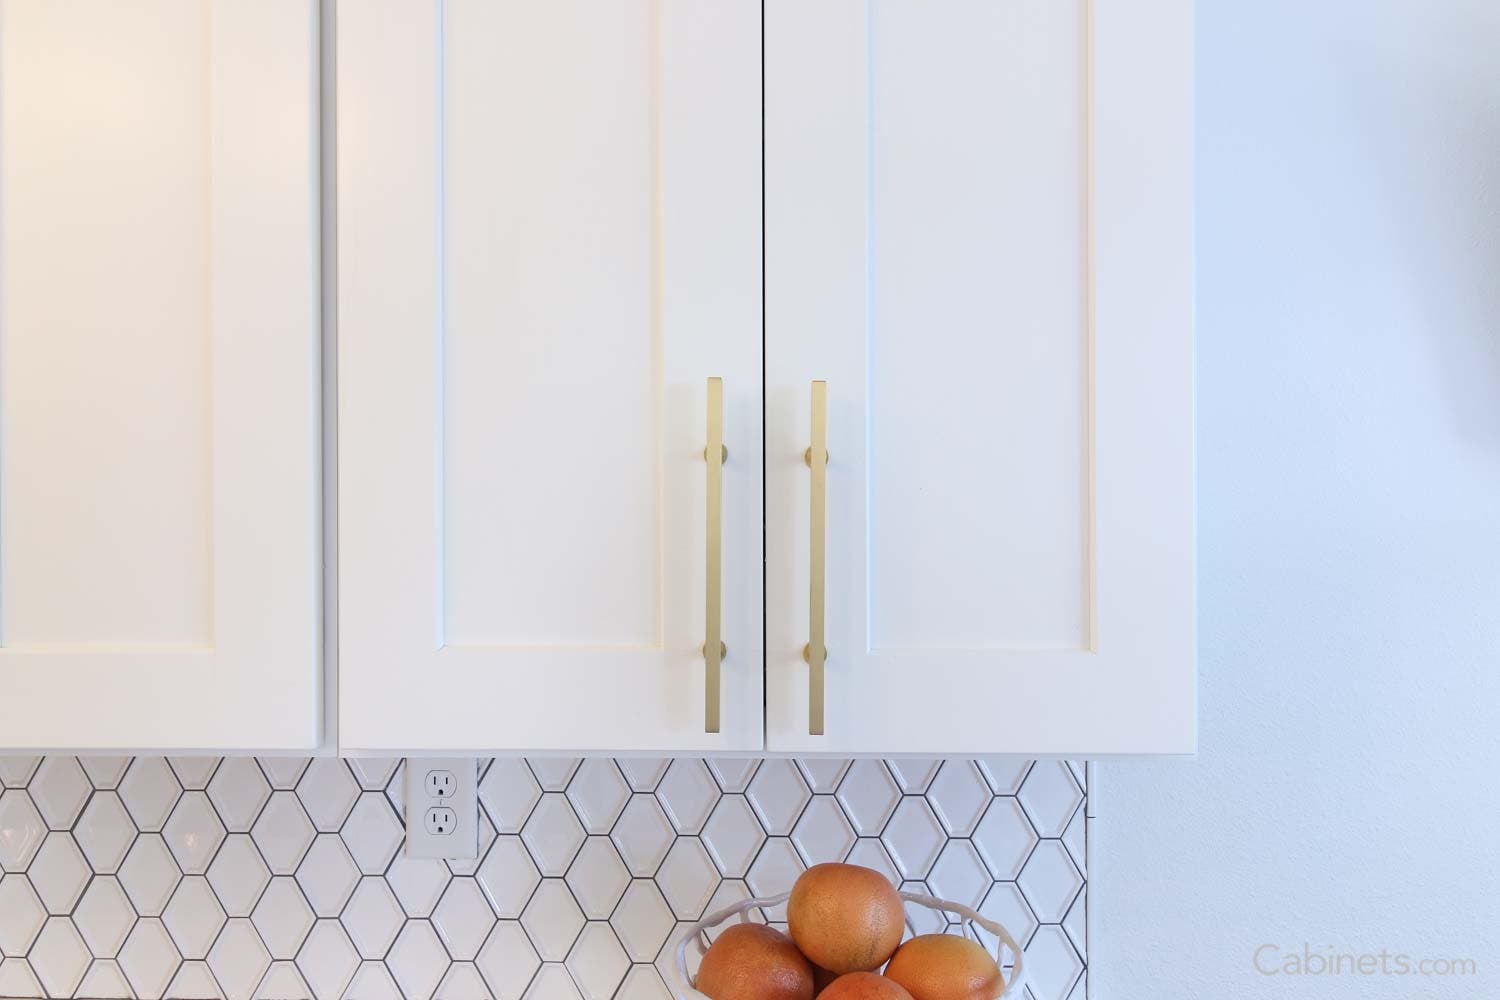
Gold Bar Pulls look perfect over White Shaker II Maple Bright White Cabinets
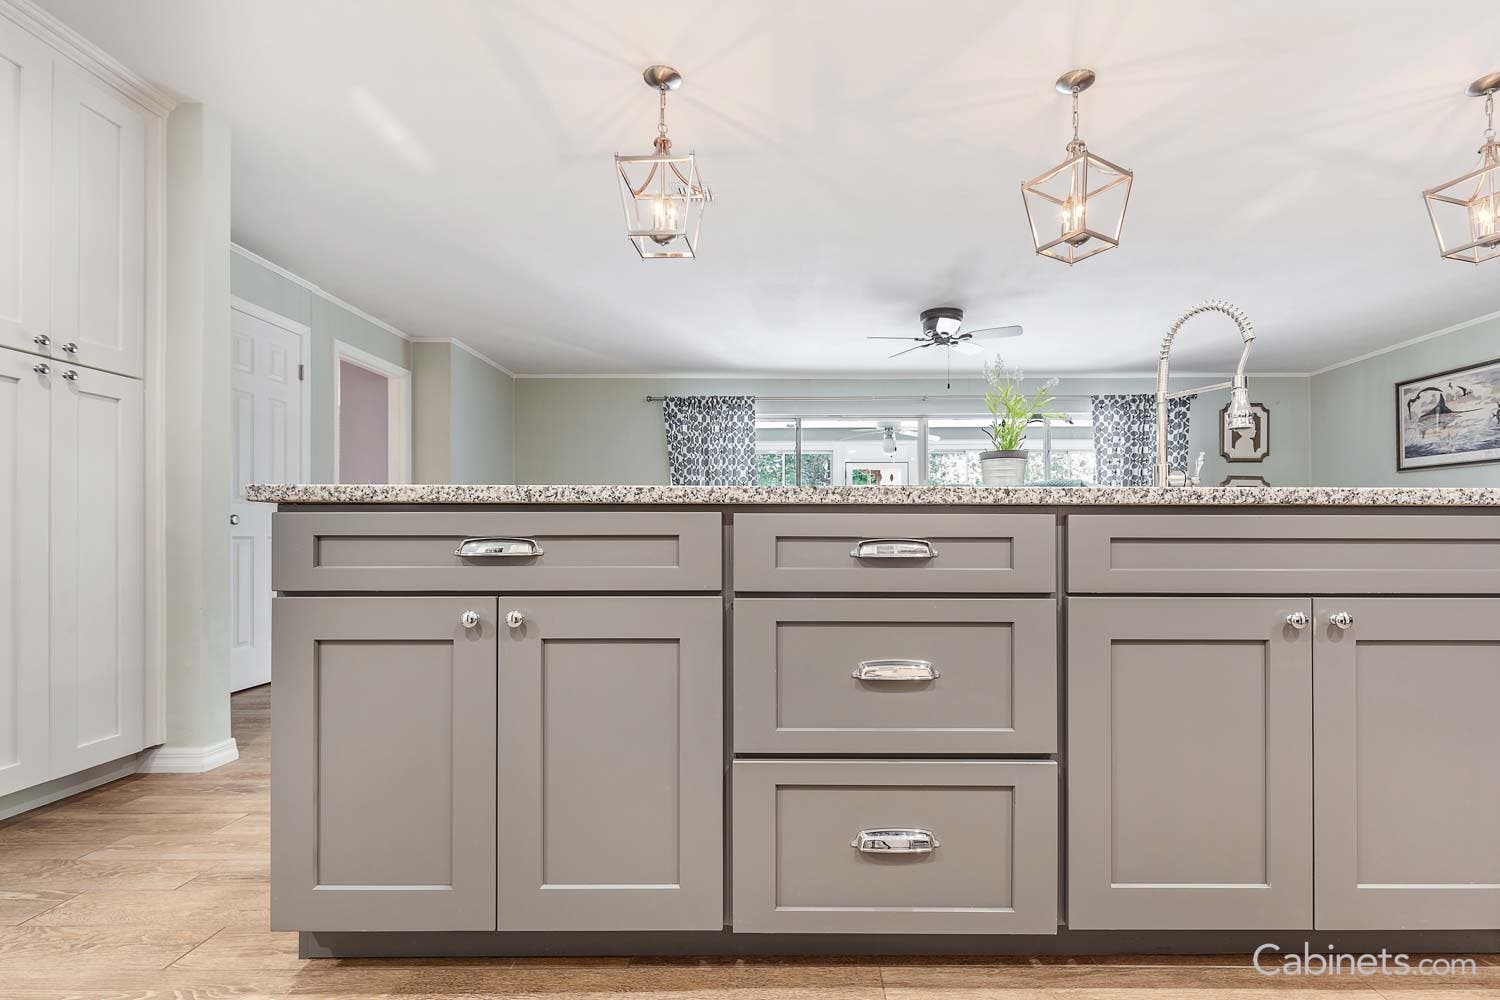
A combination of cabinet knobs and cups makes this Creek stone Island Cabinets look unique and beautiful!